- Get link
- X
- Other Apps
Makes a great housewarming gift. Use a permanent marker to write the date on your photo if desired.
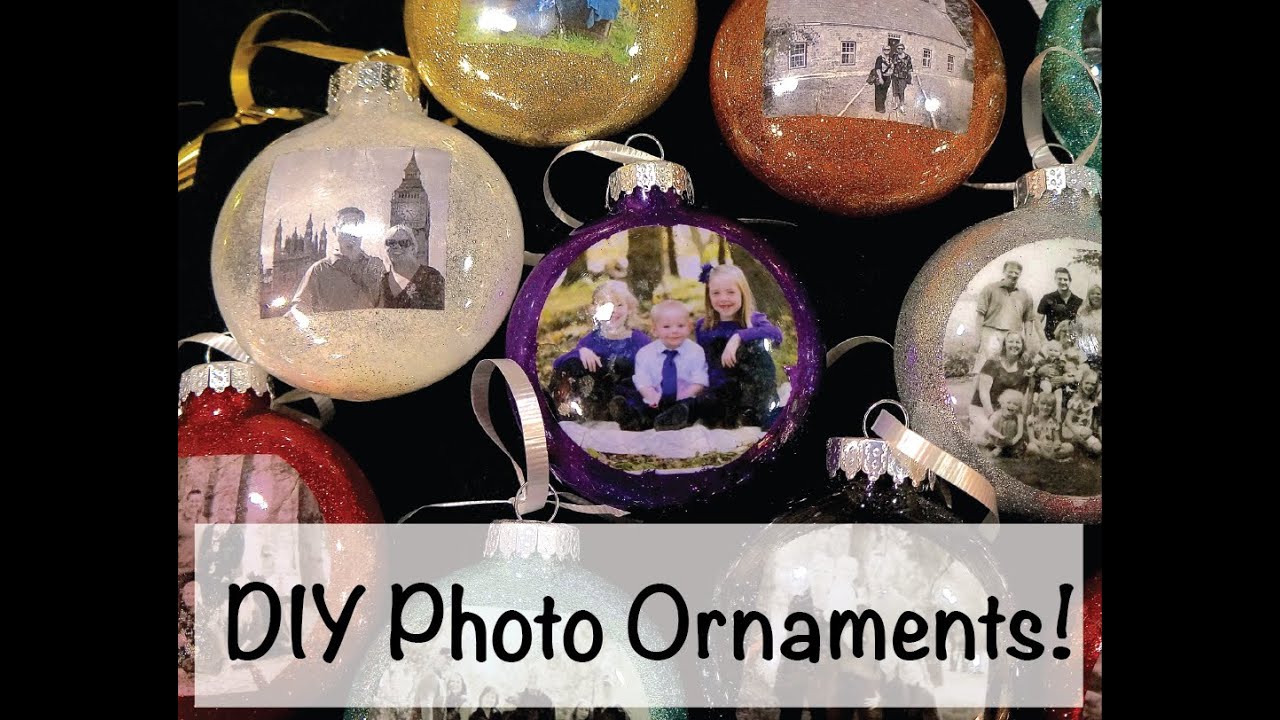 Diy How To Make Christmas Photo Ornaments Youtube
Turn Photos into Paintings When you get the creative spark BeFunky will help you channel your inner Picasso taking you from photo to painting in one click.

Turn a picture into an ornament. The size doesnt matter too much but if you want to keep all the details that make your house unique then go for a photo that is at least 4-5 inches wide. I think this would make a really sweet and fun post-wedding gift for any family members or friends looking for something unique youll just have to remember to take a photo of the wedding cake beforehand. Create Fun Photo Christmas Ornaments.
Rosie ODonnell shows you how to make photo balls using your favorite pictures. Today Im showing you the steps for turning any photo into a cut file so you can turn it into a decal to put on a shirt a canvas or any other objects you like. Hello Cricut buddies.
Customize our popular two-sided photo ornaments with two photos or a photo on one side and a special message on the other. At Personalization Mall you can choose from over 100 exclusive photo ornaments in all shapes and sizes. Just go to the Artsy section of our Photo Editor then select one of our photo to art effects.
Press down firmly and gently smooth the paper removing any air bubbles with a ruler. Stick the photo on the inside of the coaster. Make double sided christmas ornaments from your pictures.
Although almost any sturdy puzzle piece will work for this project Im sharing with you how I turned spare foam puzzle pieces into an ornament and a picture frame. It could also be a great anniversary gift. Make a Snowy Floating Photo Ornament For the first style youll need a winter photo that can be cut into a 3 inch circle assuming youre using the 3 inch globes.
Its an inexpensive way to add a personal touch to your store-bought gifts andor a thoughtful way to show someone you care. Use scissors or a circle cutter to carefully cut out the circle. PosterBurner makes amazing ornaments and all shapes are 10 off today.
Thin printer paper that. STEP 5 Allow to Dry. Then select the duplicate photo and its mask and move it up down left right to your liking.
Go to Layers and click on the mask of the first photo the background photo and click on the Invert Mask button. Custom house picture ornament turn your photo into beautiful digitally rendered artwork on an ornament. Cut out the photo and put double sided tape on the back.
Turn any photo into an amazing ornament with superb print quality that comes ready to hang. Make sure to use a regular read. Welcome to Cut N Make Crafts by Jav.
Use the Magic Bubble brush to position the photo against the inside of the ornament and carefully brush over the entire photo until it has smoothly adhered to the glass. Add text or make it a collage for free. Find a glass that will fit snug inside the coaster.
Drill or poke two small holes for a string for hanging in one side of the coaster. You just have to duplicate the photo and add a circle shape mask to each photo. Use the drinking glass to trace a circle around the portion of the photo you wish to have in the ornament.
Martha demonstrates how to make ornaments with photos of your friends and family. STEP 4 Place Printed Paper on Ornament Surface Once the printer paper is well coated with the photo transfer solution place paper image-side down on the ornament surface. Use the peanut butter lid I mentioned above or something fancier to mark your circle.
Make picture frame ornaments. How to Make a Keepsake Photo Ornament. Cut a circle from the plastic sheet and stick it to the back with double stick tape.
They are a great way to decorate your Christmas tree. Make a photo ball ornament wtih Rosie ODonnell. I used this amazing idea to create these DIY Car Ornament using Balsa Wood to give to my husband for our one decade anniversary.
If you fold the tabs up towards the front of each circle the side you want visible from the outside of the ornament you will get an ornament with visible ridges at each joint like the one in the photo above. Roll the copied photo image side out into a roll small enough to fit into the ornament and carefully insert. Print and cut out a photo of your house.
If instead you want the finished ornament to be completely smooth at each joint fold the tabs down away from the front of each circle piece. Paint the ornament with a thin layer of Mod Podge then place the photo. Fold your pictures into a ball shape to turn them into an ornament.
Lay the ornament down on your photos and trace around it.
 Turn Your Photos Into Ornaments And Or Gift Tags Diy Wood Slice Photo Ornaments 12days72ideas Christmas Ornaments Christmas Crafts Diy Christmas Ornaments
![]() Photo Ornaments Diy How To Turn Your Photos Into Beautiful Christmas Ornaments 5 Minutes For Mom
Photo Ornaments Diy How To Turn Your Photos Into Beautiful Christmas Ornaments 5 Minutes For Mom
 Here Is A Super Easy Way To Turn Your Kiddo S Artwork Into A Christmas Ornament That You Can Treasure For Ye Ornaments Diy Kids Kids Ornaments Christmas Crafts
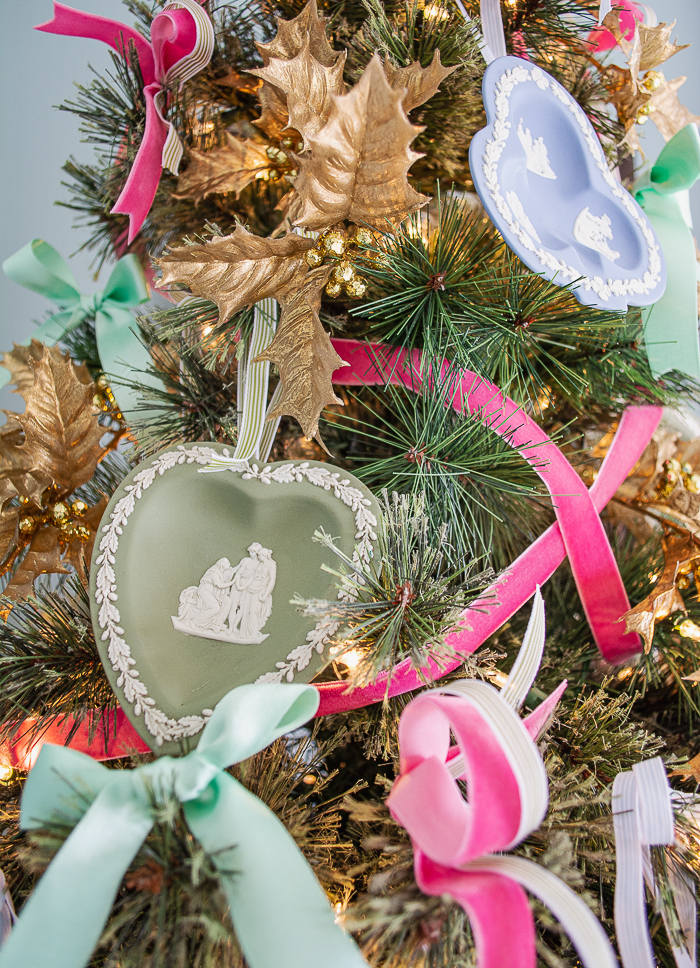 How To Turn Trinket Dishes Into Ornaments Pender Peony A Southern Blog
Diy Kids Turn Your Christmas Tree Into Its Own Ornaments Bob Vila
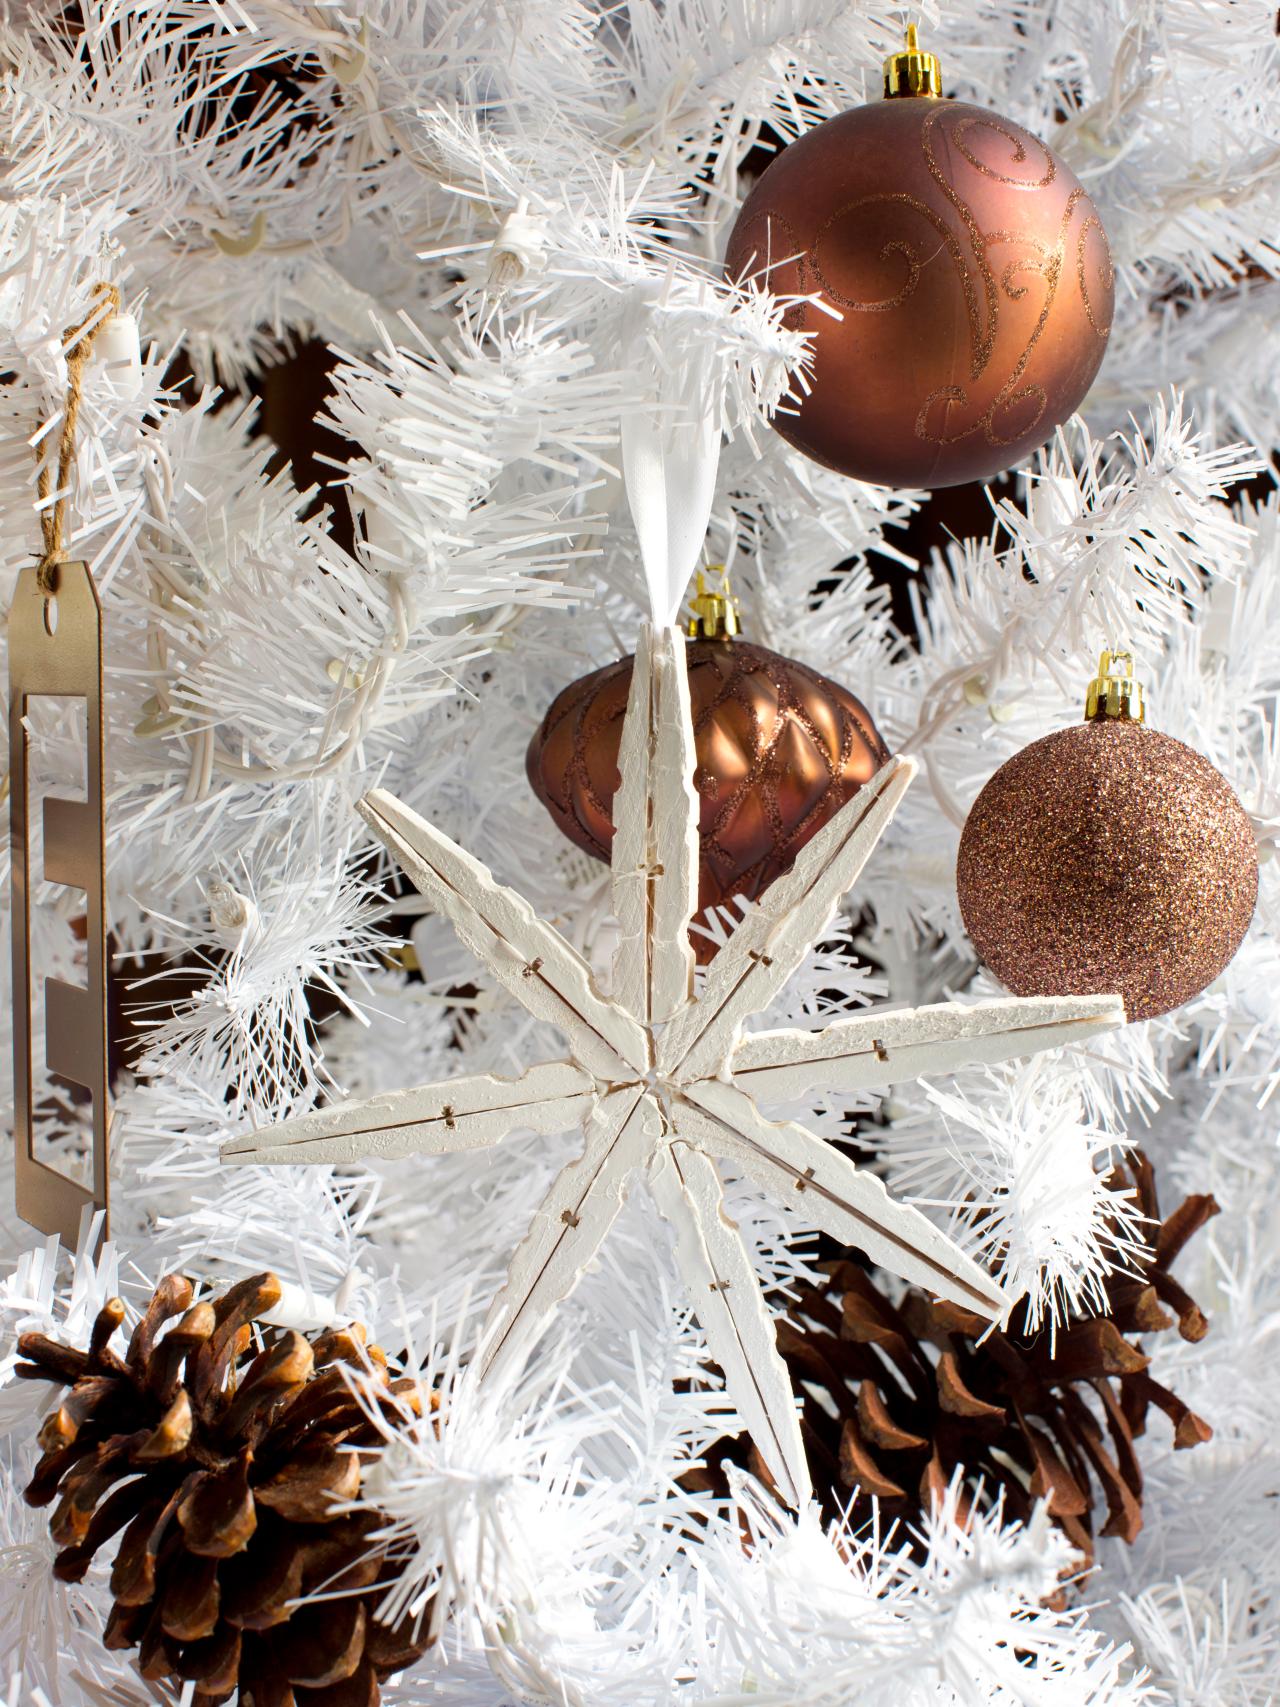 Turn Clothespins Into Christmas Tree Ornaments Hgtv
 Holiday Crafts Remember Childhood Toys By Turning Them Into Christmas Ornaments Home And Family Heraldextra Com
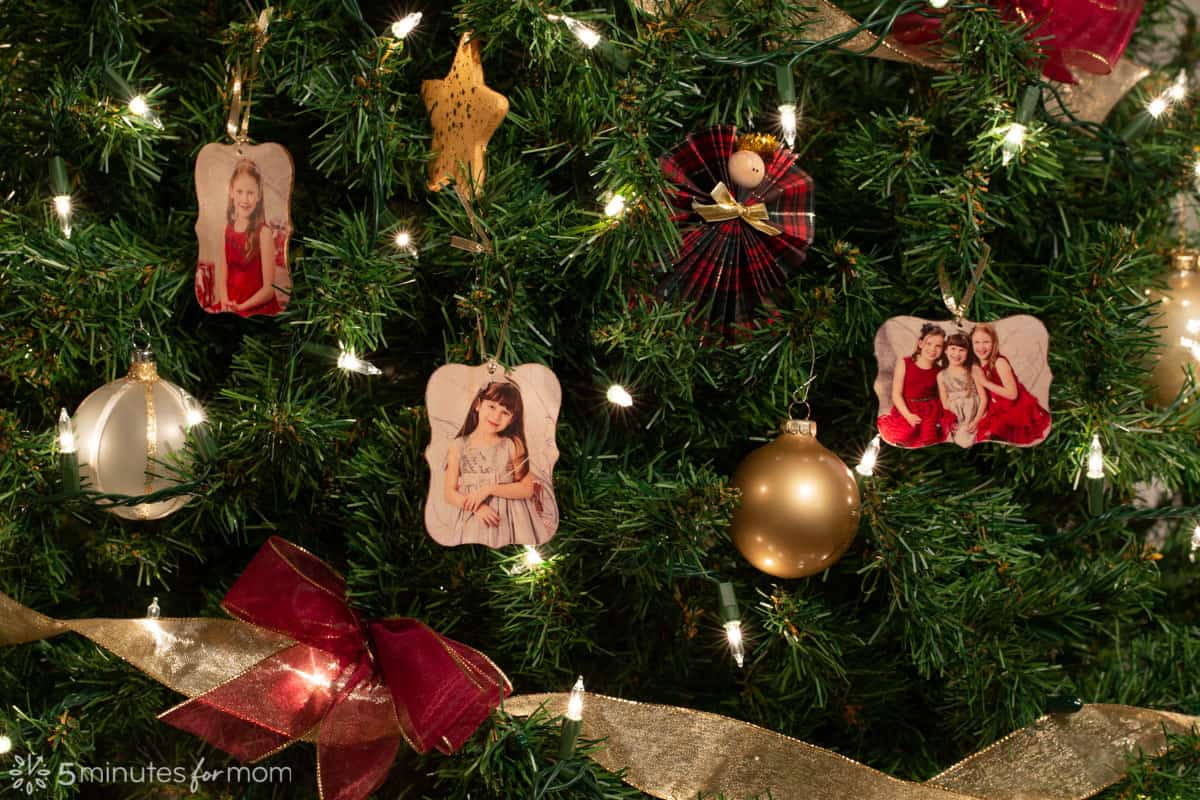 Photo Ornaments Diy How To Turn Your Photos Into Beautiful Christmas Ornaments 5 Minutes For Mom
 How To Turn Kids Art Into A Beautiful Christmas Ornament
 How To Turn Old Toys Into Christmas Ornaments Eat Drink And Save Money
 How To Turn Kids Art Into A Beautiful Christmas Ornament
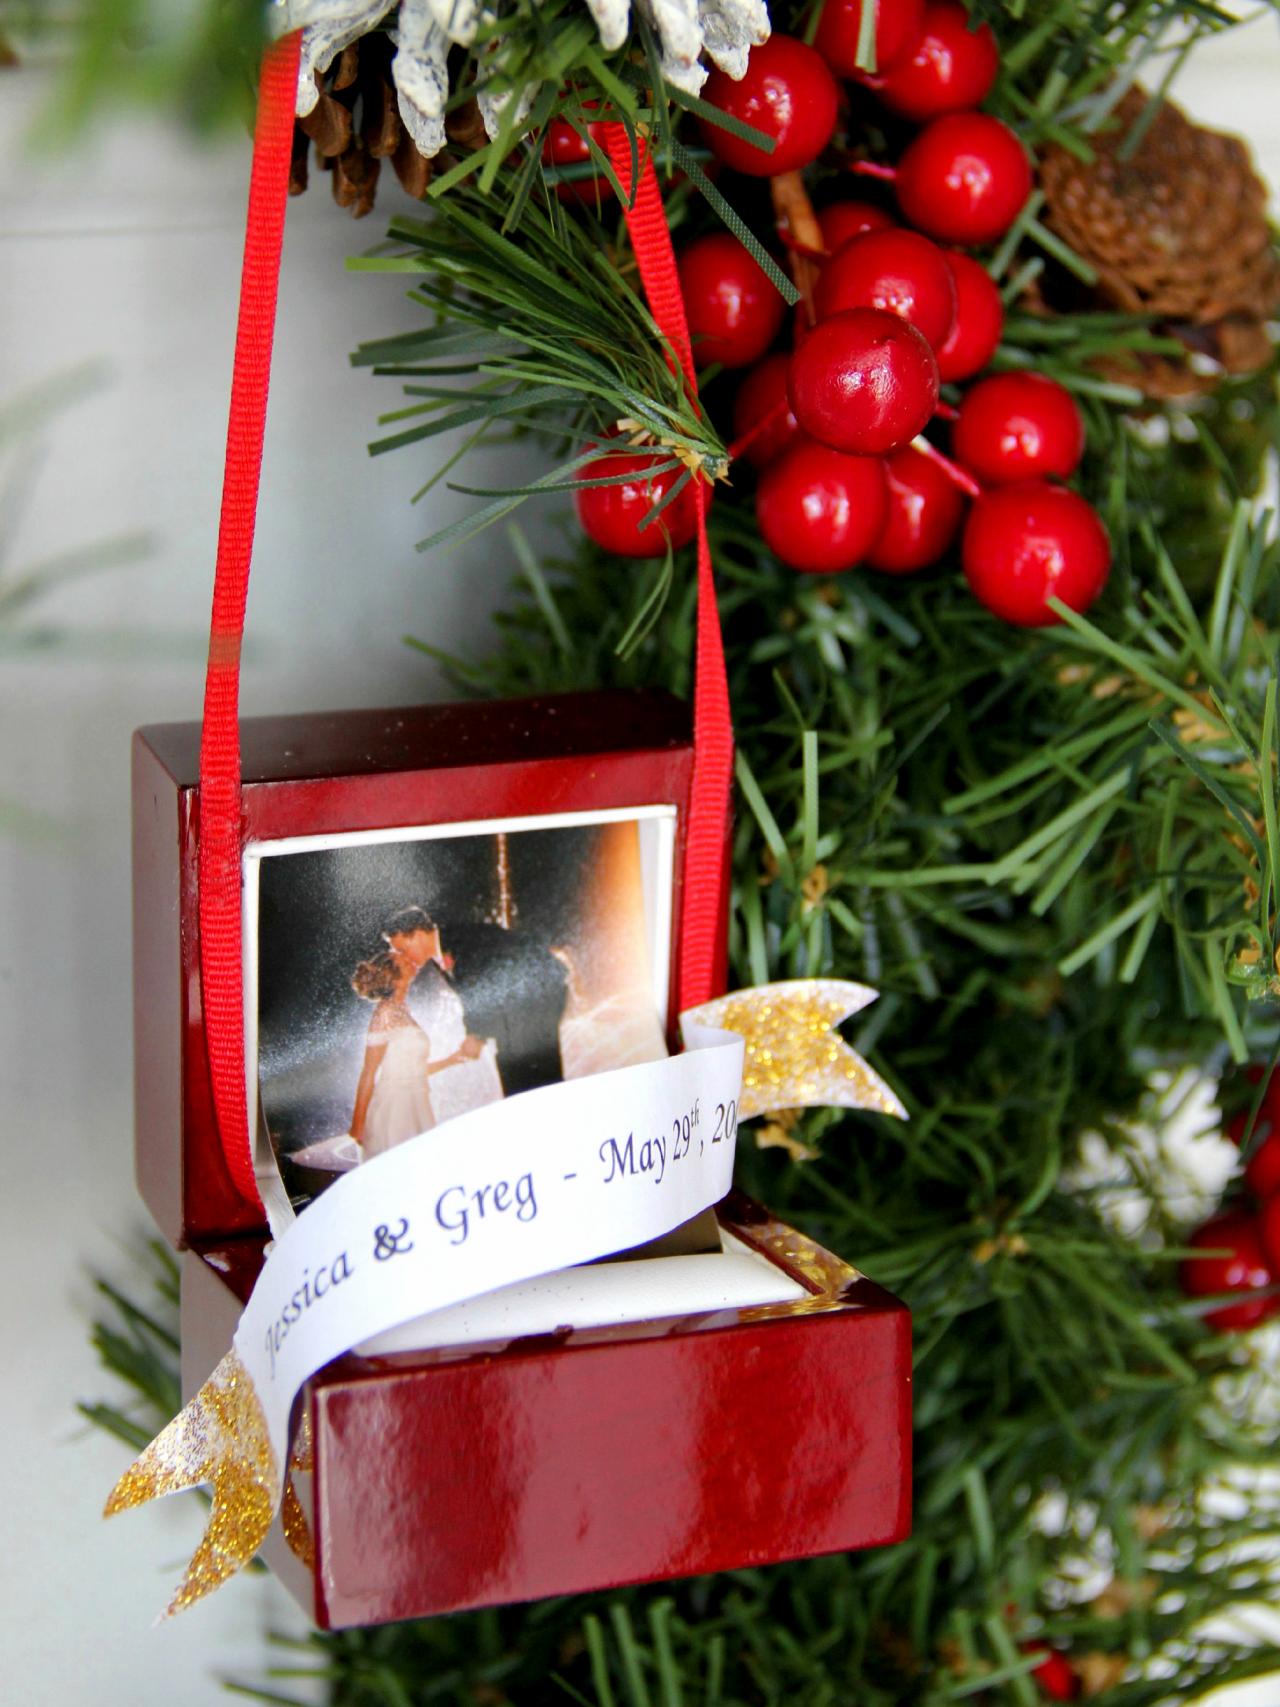 How To Turn A Ring Box Into A Christmas Tree Ornament How Tos Diy
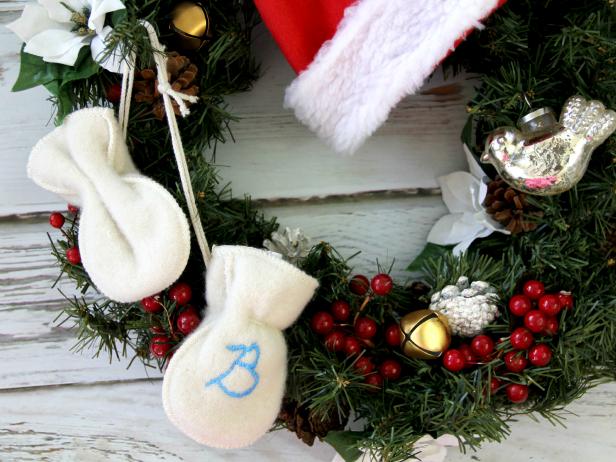 How To Upcycle Baby Items Into Holiday Decor How Tos Diy
 Pin On Christmas Ornaments
Comments
Post a Comment